
Rule of Thirds in Photography: Real Examples from Shenandoah National Park
The rule of thirds is one of the most well-known principles in photography.
If you’ve read my other posts, you already know the basics:
Divide your frame into a 3x3 grid and place your subject along those lines or at the intersections.
Simple in theory.
But where it really starts to make sense is in real-world use.
In this post, I’m going to show how the rule of thirds actually works using landscape and wildlife photography from Shenandoah National Park.
What the Rule of Thirds Actually Does
At its core, the rule of thirds helps guide the viewer’s eye.
Instead of placing your subject dead center, you create balance and movement by positioning it slightly off-center.
This:
Creates a more natural composition
Adds depth and interest
Gives the viewer a path to follow through the image
It’s not a strict rule—but it’s one of the most useful tools you can learn.
If you what to go in depth more on the rule of thirds, check out my other post on Rule of Thirds In Photography Explained.
Landscape Photography Examples
Example 1
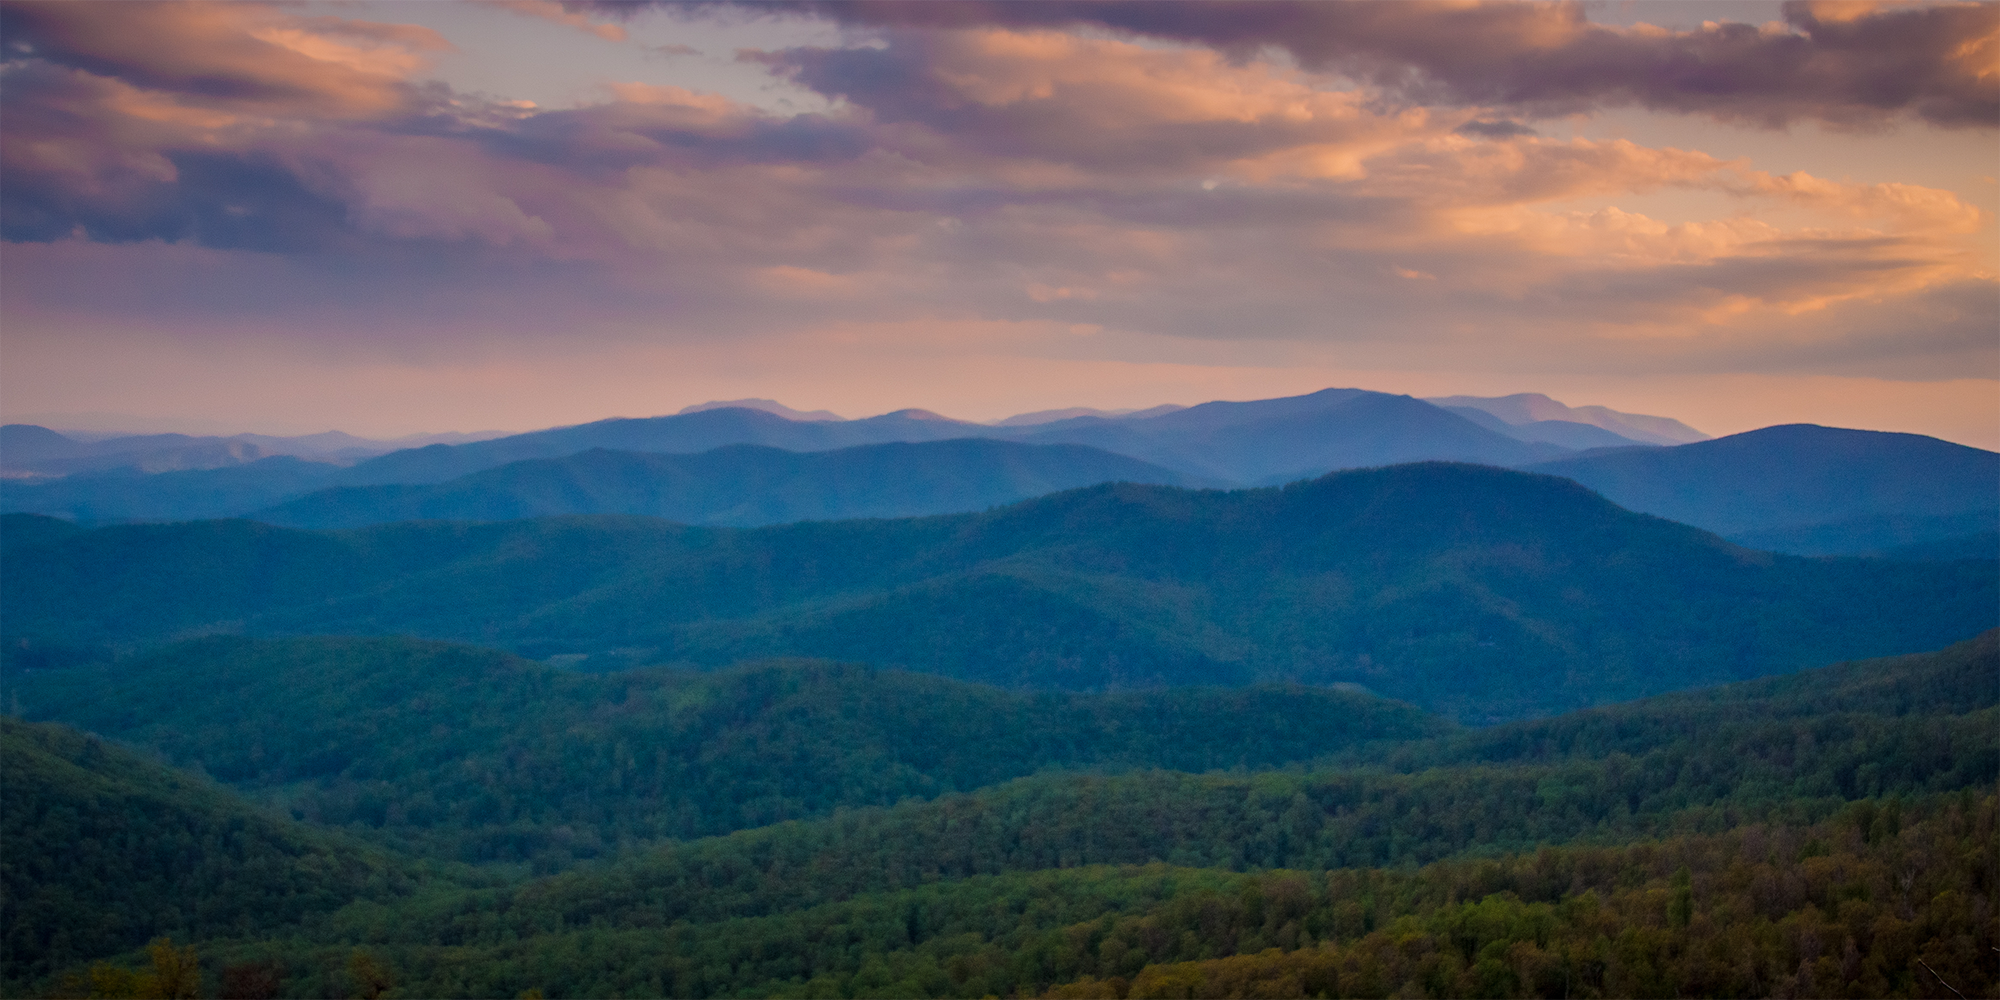
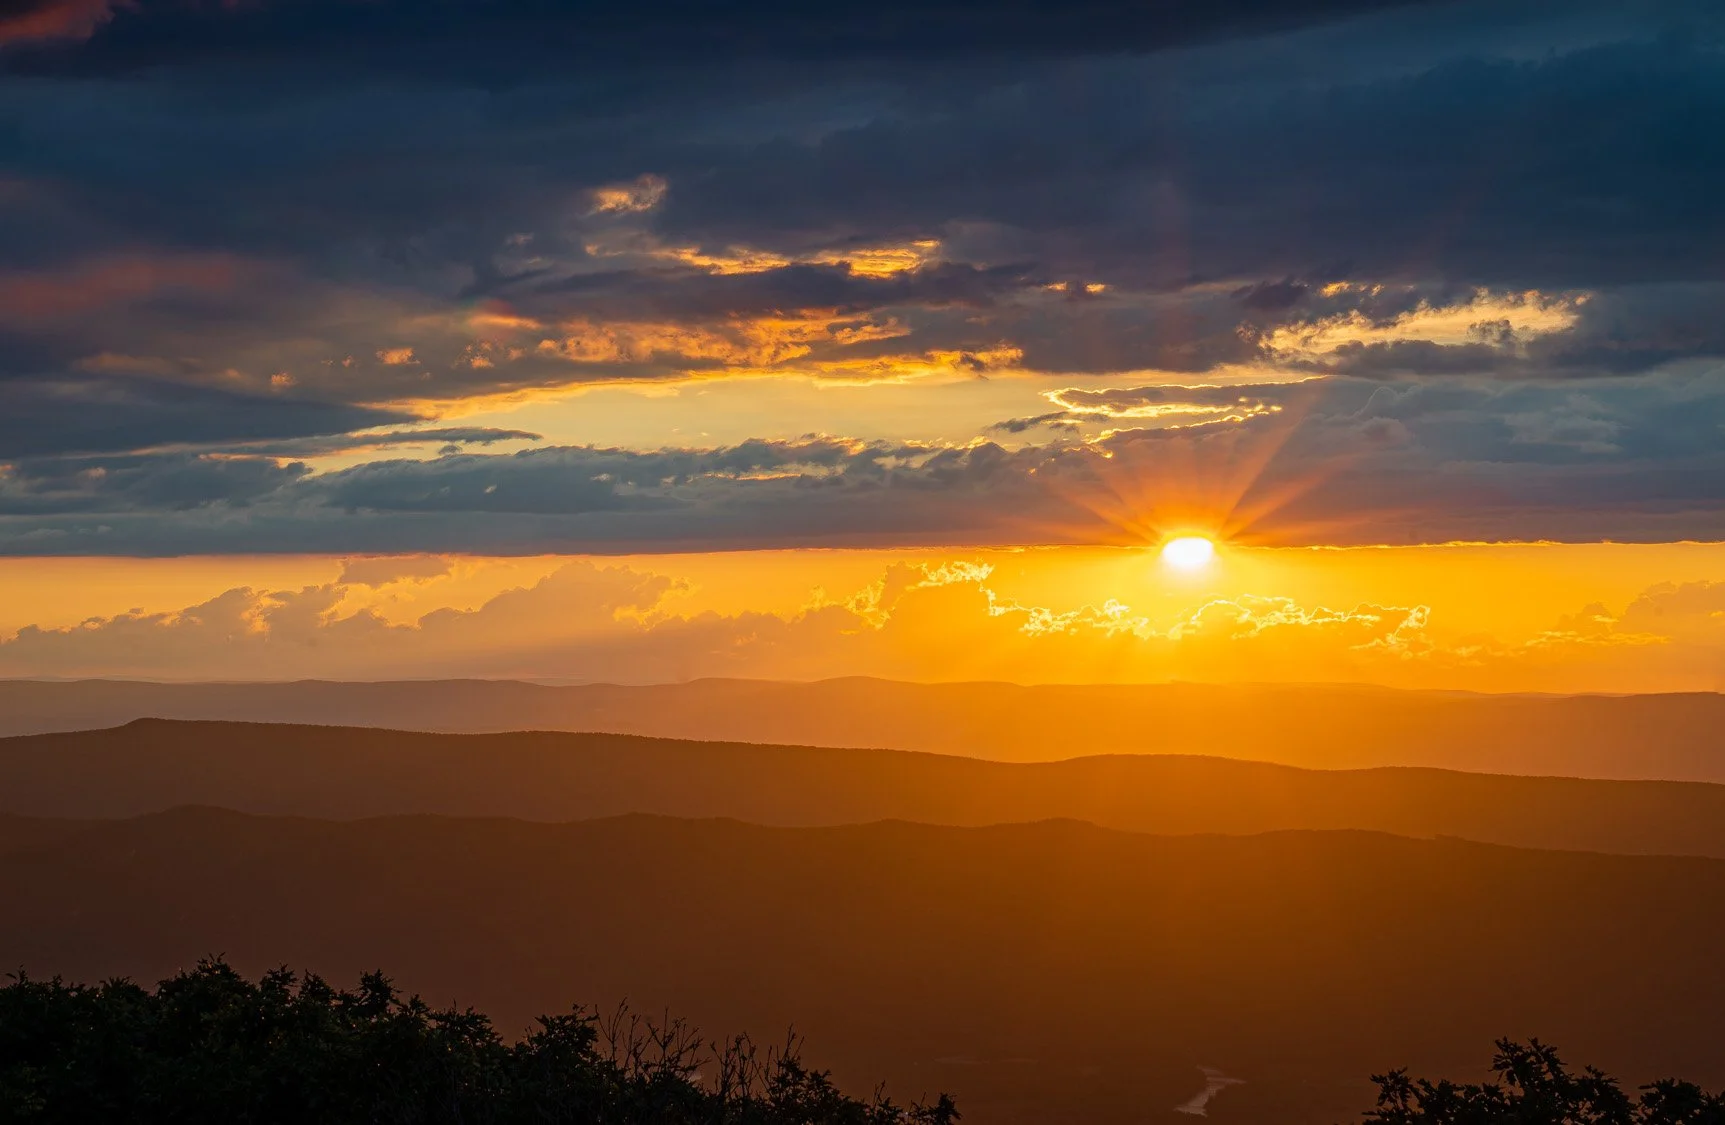
In this image, the horizon is placed along the upper third of the frame.
This allows the foreground and layers of the mountains to take up most of the image, giving a stronger sense of depth.
If the horizon were centered, the image would feel flat and less intentional.
Example 2
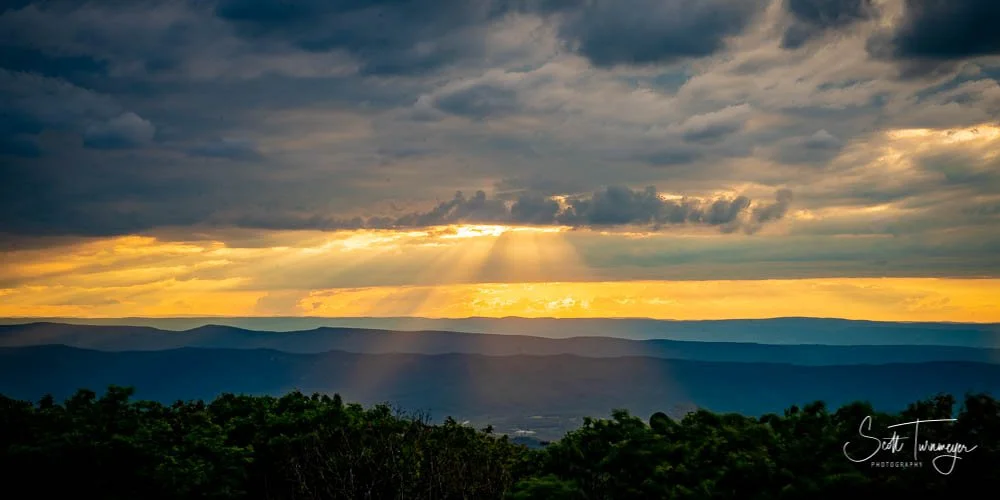
Here, the main subject—the overlook and valley—is positioned along the lower third, while the sky fills the top portion.
This works particularly well during sunrise or sunset, where the sky becomes part of the story.
Example 3
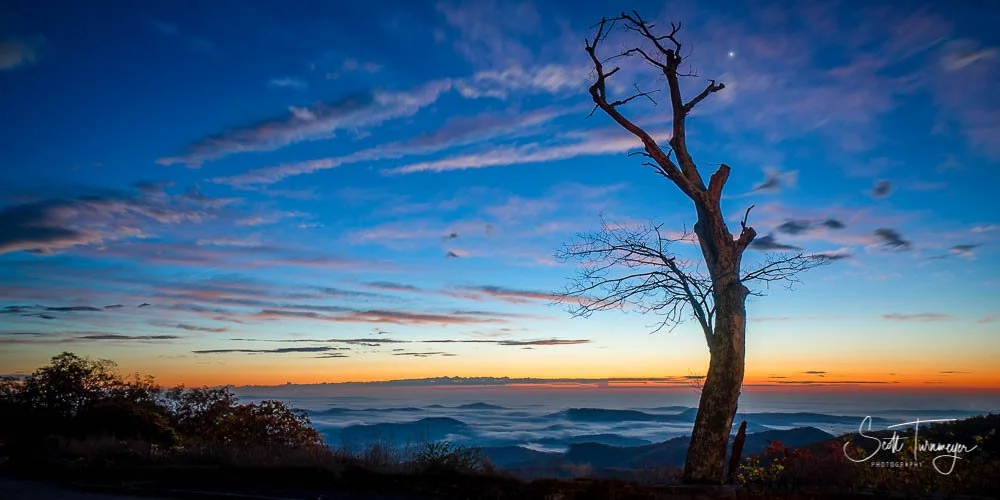
In this shot, a key visual element (tree, rock, or foreground subject) is placed along one of the vertical thirds.
This gives the image structure and helps lead the viewer’s eye into the scene.
Wildlife Photography Examples
Example 4
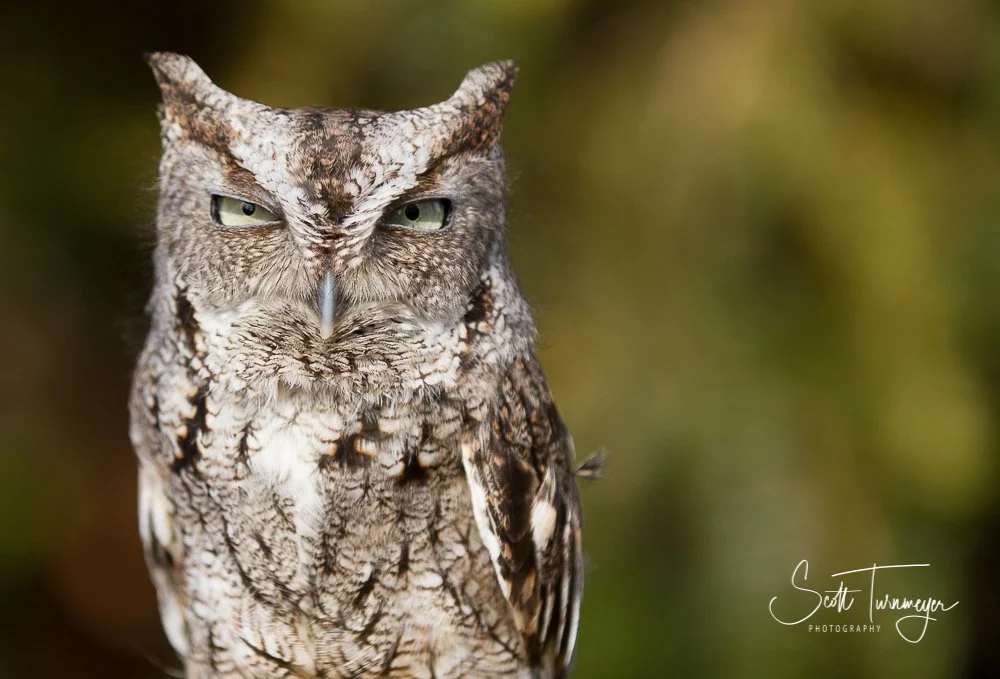
In wildlife photography, the rule of thirds becomes even more important.
Here, the animal is positioned off-center, with space in front of it.
This gives the subject room to “move” within the frame and makes the image feel more dynamic.
Example 5
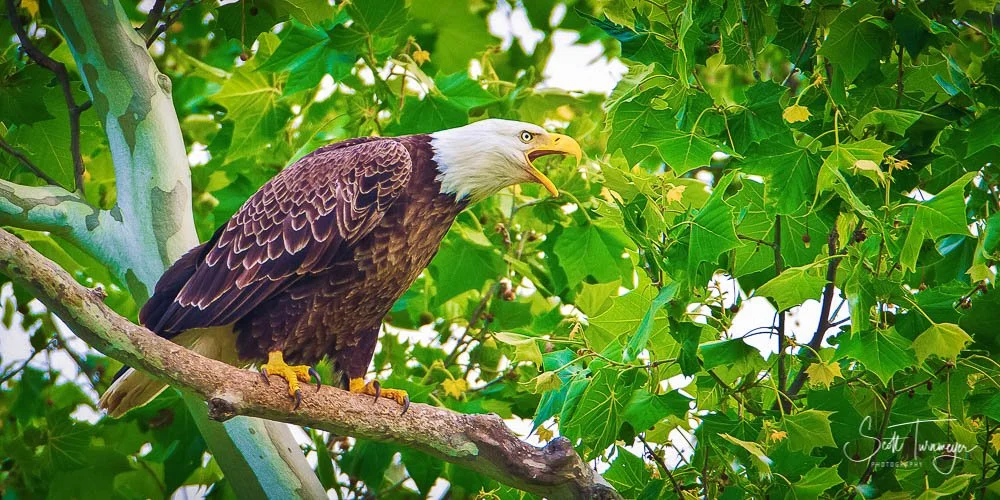
The subject is placed at an intersection point of the grid.
This naturally draws attention and creates a strong focal point.
If the subject were centered, the image would feel more static and less engaging.
Example 6
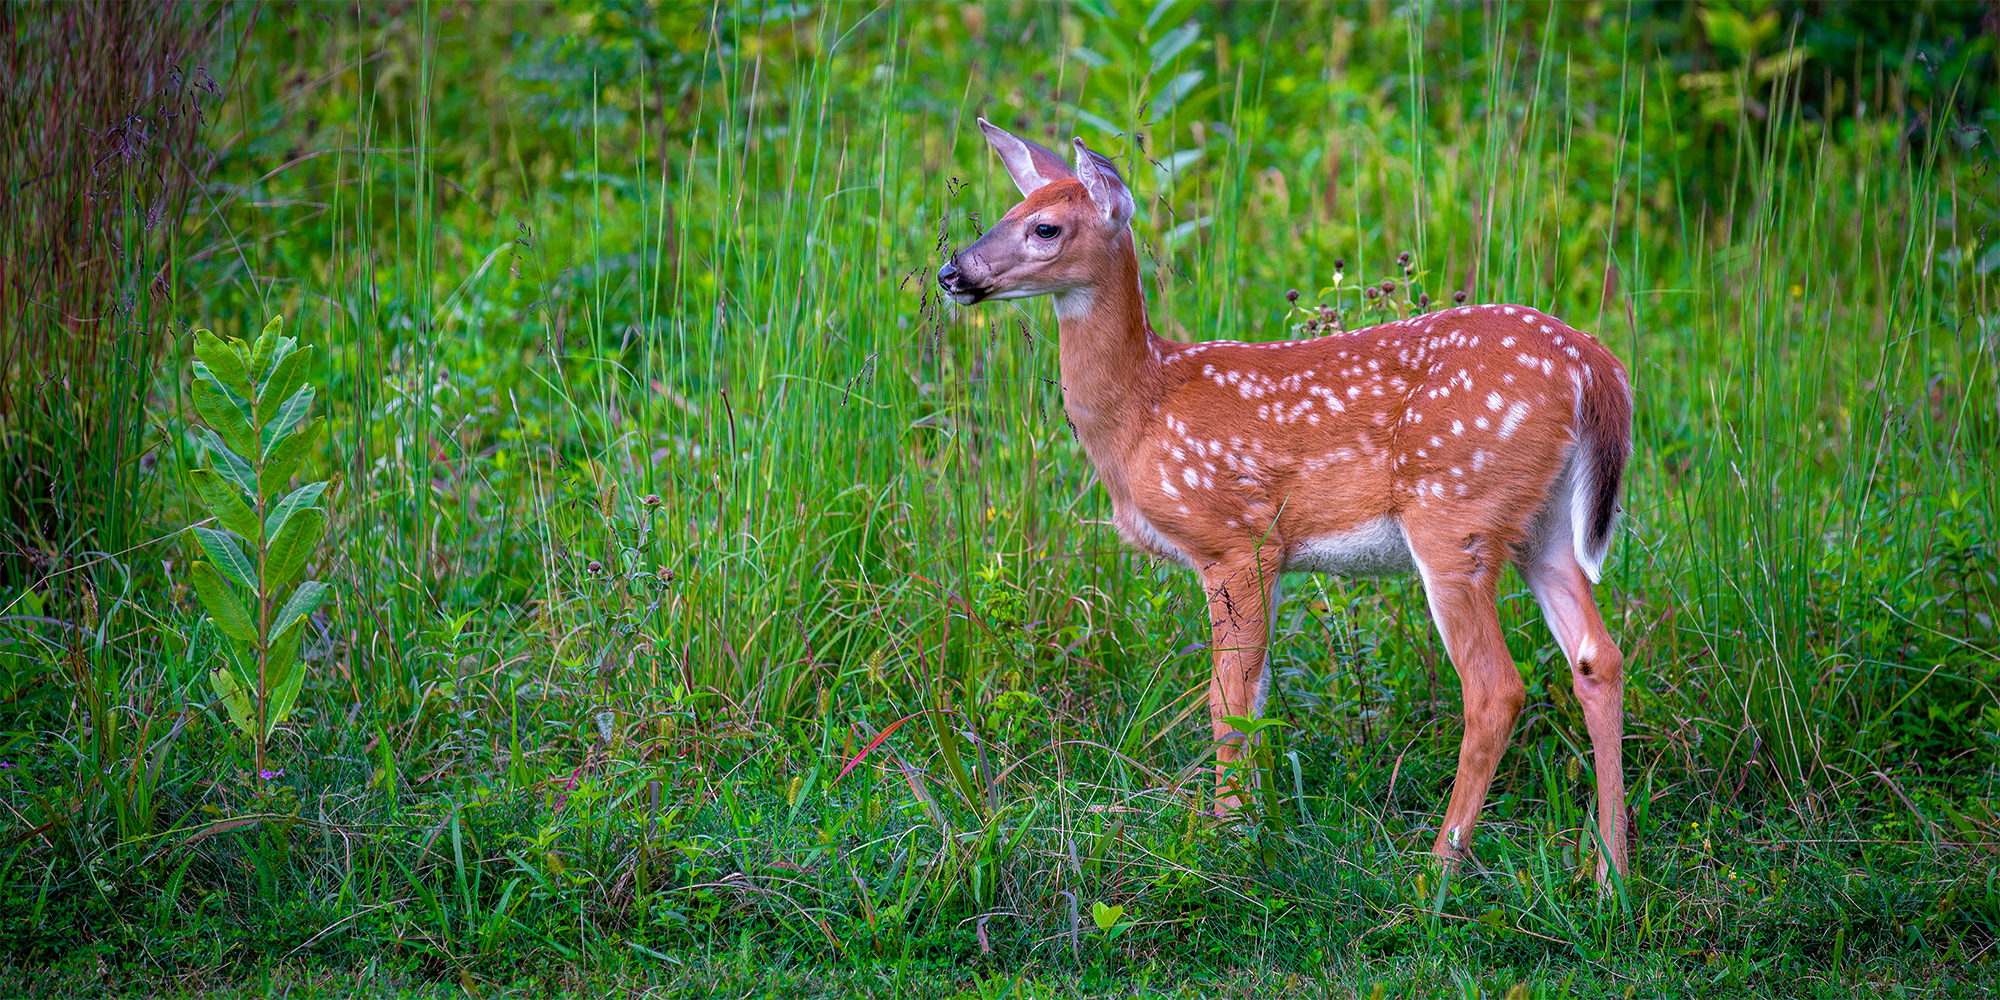
Notice the direction the subject is facing.
Leaving space in front of the subject creates balance and tells a better visual story.
What Most People Get Wrong
The most common mistake is placing everything directly in the center of the frame.
Centering can work in some situations, but most of the time it removes tension and interest from the image.
Other common issues include:
Ignoring the horizon line placement
Not considering the direction of movement
Trying to apply the rule too rigidly
The goal is not perfection—it’s awareness.
How to Practice the Rule of Thirds
You don’t need expensive gear to start improving your composition.
Here are a few simple ways to practice:
Turn on the grid overlay on your camera or phone
Before taking a shot, pause and adjust your framing slightly
Experiment with placing your subject in different parts of the frame
Review your photos and ask what draws your eye
The more you practice, the more natural it becomes.
Why This Works So Well in Shenandoah National Park
Shenandoah National Park is one of the best places to practice composition.
You have:
Layered mountain landscapes
Expansive overlooks
Wildlife in natural environments
Changing light throughout the day
All of these elements make it easier to see how composition impacts your final image.
Gear I Use (And Recommend)
I’m not someone who believes you need the most expensive gear to take great photos.
But I do believe your gear should match how and where you shoot.
Most of my photography happens in Shenandoah National Park—early mornings, hikes, changing weather, and long walk to waterfalls and overlooks. So everything I use is built around that.
Camera Bodies
I shoot with Sony mirrorless cameras because they strike the right balance between performance and portability.
If you’re hiking, weight matters.
If you’re shooting sunrise or wildlife, performance matters.
The Sony system gives you both.
If you’re just getting started, something like the Sony ZV-E10 Mirrorless Camera or Sony Alpha a6400 Mirrorless Camera is more than enough.
If you want to step up into full-frame, the Sony a7 III Mirrorless Camera is still one of the best all-around cameras out there. Me? I shoot my Sony A7R III Mirrorless Camera.
What matters most isn’t the model—it’s that you have something reliable that you’ll actually carry with you.
Tripods (This Matters More Than People Think)
Tripods are one of the most overlooked pieces of gear, especially for landscape photography.
And this is where I use two very different setups depending on the situation.
Lightweight Tripod (For Hiking and Travel)
When I’m hiking or covering a lot of ground, I use a lightweight tripod.
Something like the Peak Design Travel Tripod or Manfrotto Element MII Aluminum Tripod works really well.
The goal here is simple:
Light enough to carry
Stable enough for sunrise/sunset shots
Quick to set up
If your tripod is too heavy, you won’t bring it.
And if you don’t bring it, you won’t use it.
Heavier Tripod (For Stability and Precision)
When I’m not hiking far—or when I know I’ll be set up for a while—I prefer a more stable setup.
Something like the Manfrotto 290 Tripod or Manfrotto 190XPRO3 Tripod gives you that extra stability.
This matters when:
Shooting long exposures
Working in wind
Shooting waterfalls or low light
It’s not as portable, but it’s noticeably more solid.
My Approach to Gear (This Is the Important Part)
I don’t carry everything.
I match my gear to the shoot.
If I’m hiking:
Lightweight camera
Lightweight tripod
Minimal setup
If I’m close to the car or staying in one spot:
Heavier tripod
More flexibility
That balance matters more than the gear itself.
You Don’t Need Everything to Start
This is the part most people miss.
You don’t need:
the best camera
multiple lenses
a full setup
You need:
something reliable
something you understand
something you’ll actually use
The best camera is the one you bring with you.
Final Thought on Gear
Gear helps—but it doesn’t replace composition.
You can have the best setup in the world and still take average photos.
Or you can understand light, composition, and timing—and create something great with almost anything.
That’s why I focus on both:
practical gear
and real-world technique
Final Thoughts
The rule of thirds is simple, but it’s powerful.
It’s one of the fastest ways to improve your photography without changing your gear.
The more you start to see it in real-world situations, the more your images will improve.
And places like Shenandoah National Park give you endless opportunities to practice.
More Photography from Scott Turnmeyer
I write about landscape photography, night sky photography, camera technique, and photography workshops in the Shenandoah Valley and Blue Ridge Mountains. You can explore more photography, workshops, and articles here:
Fine Art Photography
Photography Workshops & Experiences
Blog Home
About Scott Turnmeyer
Digital Consulting
As an Amazon Associate, I earn from qualifying purchases.