
Exposure Triangle in Photography Explained – Aperture, Shutter Speed & ISO Guide
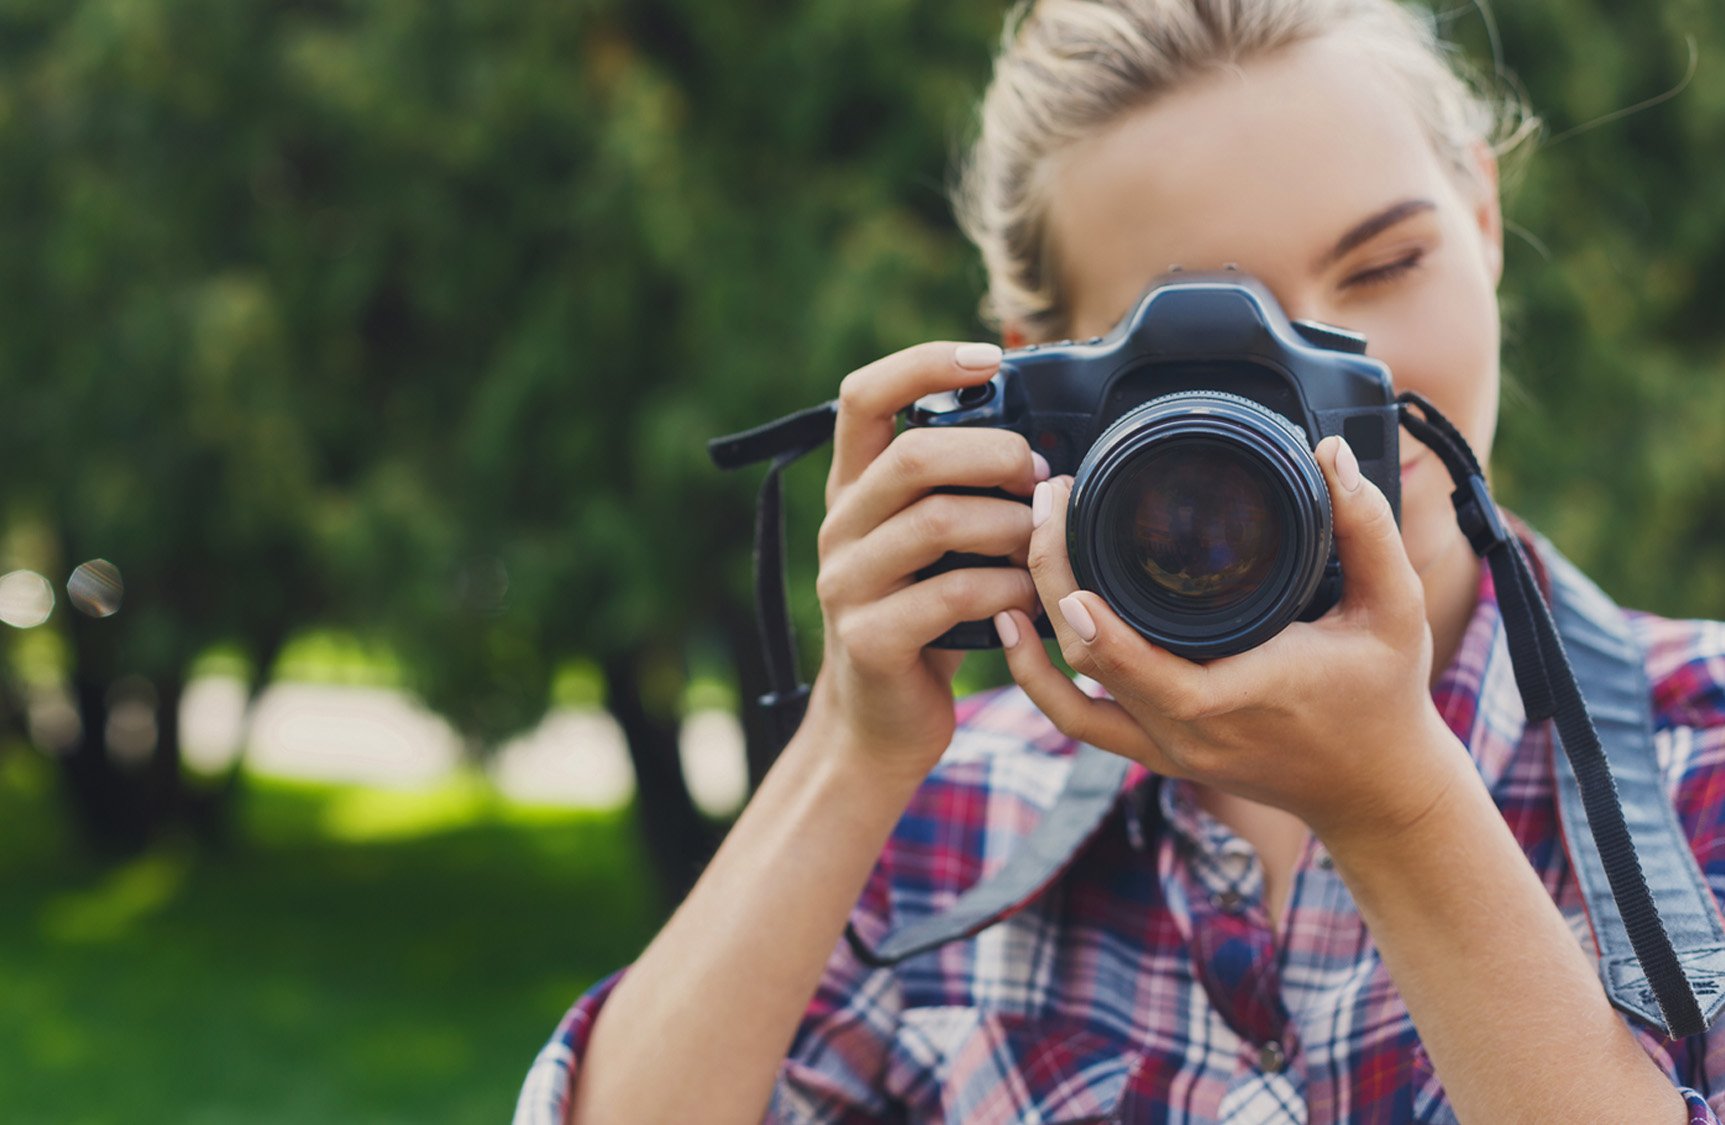
The exposure triangle is one of the most important concepts in photography. It explains how three camera settings — aperture, shutter speed, and ISO — work together to control the brightness of your image. Once you understand the exposure triangle, you gain full control over how your photos look in any lighting condition. When you combine that with an understanding of composition techniques like the rule of thirds, then you can really take your photos to the next level.
Whether you are shooting landscapes, portraits, wildlife, or night photography, learning how these three settings work together will help you take better photos and move beyond automatic mode.
In this guide, I’ll explain what the exposure triangle is, how each setting affects your photo, and how to balance them to get the correct exposure.
What Is the Exposure Triangle?
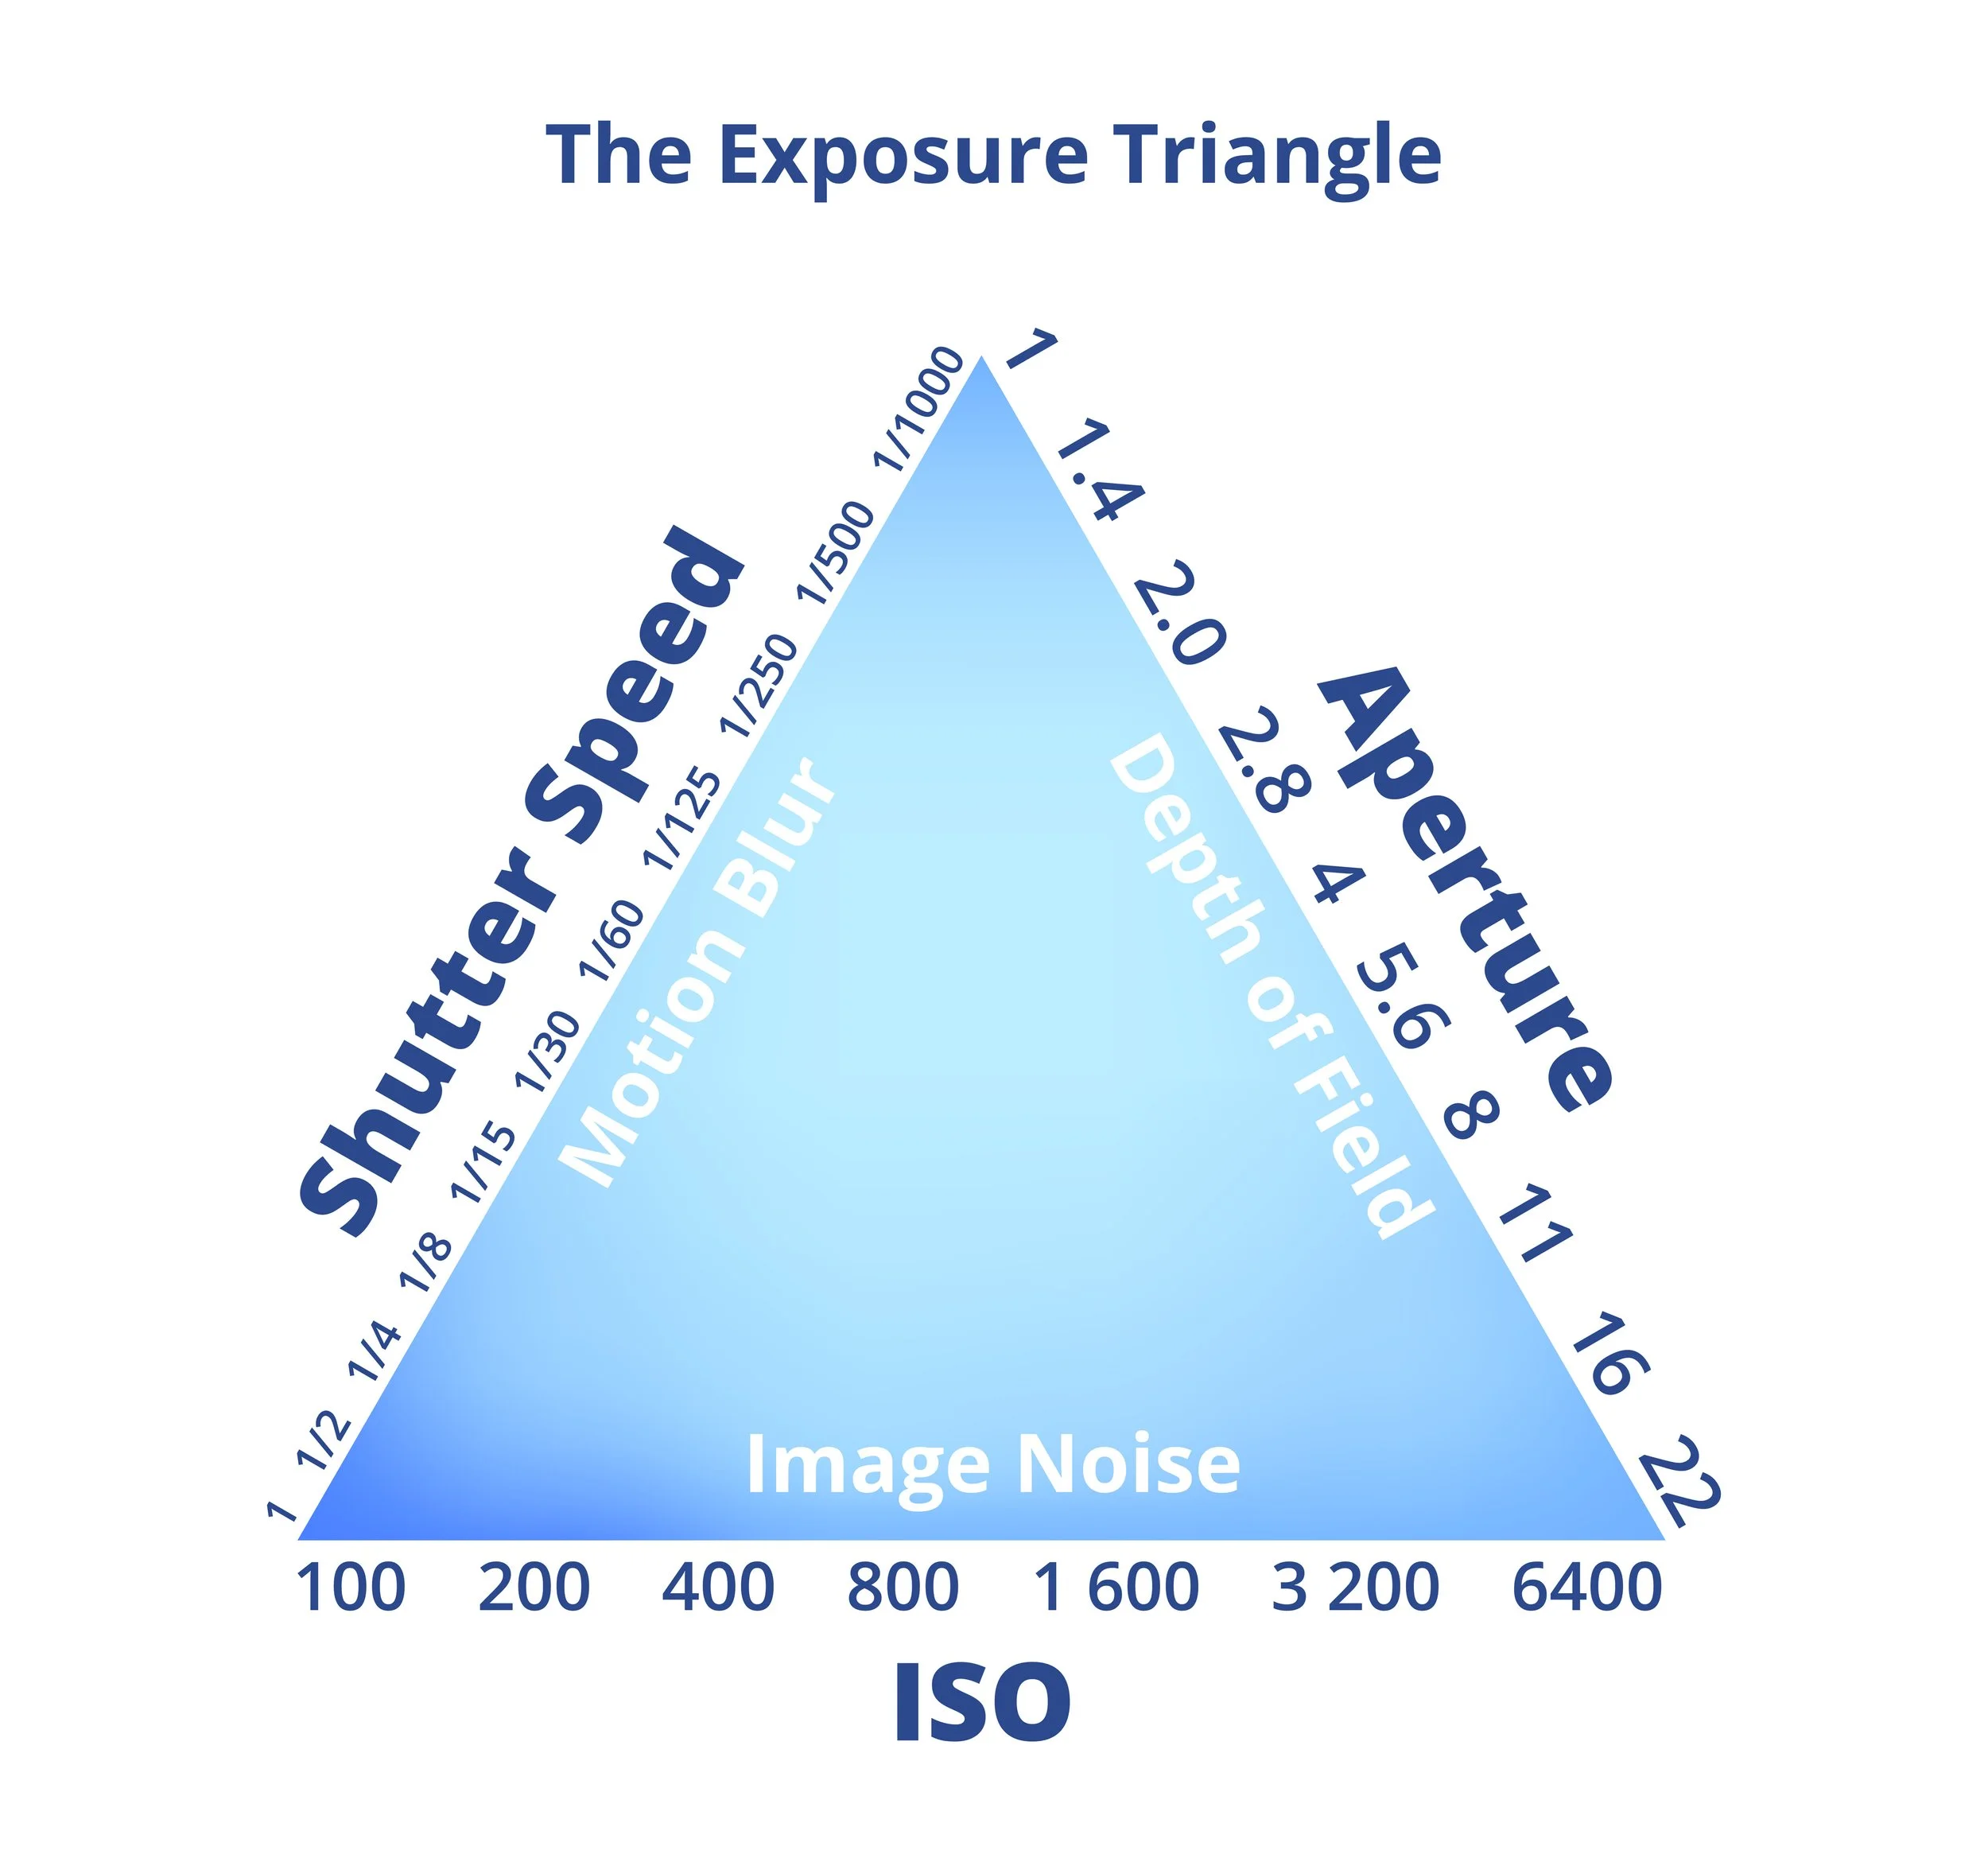
The exposure triangle is the relationship between:
Aperture
Shutter Speed
ISO
These three settings control how much light reaches your camera sensor. Changing one setting affects the others, so you need to balance all three to get a properly exposed image.
If too much light reaches the sensor, the image will be overexposed.
If too little light reaches the sensor, the image will be underexposed.
Understanding the exposure triangle allows you to control brightness while also controlling depth of field, motion blur, and image noise.
Aperture – Controlling Depth of Field

Aperture controls how wide the opening in the lens is when you take a photo.
A wide aperture (small f-number like f/1.8 or f/2.8) lets in more light and creates a shallow depth of field. This means the background will be blurred while the subject stays sharp.
A small aperture (large f-number like f/8 or f/16) lets in less light and creates a deep depth of field. This keeps more of the scene in focus, which is useful for landscapes.
Aperture affects:
Depth of field
Brightness
Background blur
Shutter Speed – Controlling Motion
Shutter speed controls how long the camera sensor is exposed to light.
Fast shutter speeds freeze motion and are used for sports, wildlife, and action photography.
Slow shutter speeds allow more light in and can create motion blur. This is often used for waterfalls, night photography, and long exposures.
Shutter speed affects:
Motion blur
Sharpness
Brightness
ISO – Controlling Sensor Sensitivity
ISO controls how sensitive the camera sensor is to light.
Low ISO (100–200) produces the cleanest images and works best in bright light.
Higher ISO (800, 1600, or higher) makes the image brighter in low light but can introduce noise or grain.
ISO affects:
Brightness
Image noise
Low-light performance
How the Exposure Triangle Works Together
Because aperture, shutter speed, and ISO all affect exposure, changing one setting means you often need to adjust another.
For example:
If you use a faster shutter speed to freeze motion, less light reaches the sensor.
To compensate, you may need to open the aperture or increase ISO.
If you use a small aperture for landscape photography, less light enters the camera.
You may need a slower shutter speed or higher ISO.
Balancing these three settings is the key to getting the correct exposure.
Example Situations
Bright Daylight
Use:
Low ISO (100)
Fast shutter speed
Medium aperture
This keeps the image sharp and prevents overexposure.
Portrait Photography
Use:
Wide aperture (f/1.8 – f/4)
Medium shutter speed
Low ISO
This creates background blur and keeps the subject sharp.
Landscape Photography
Use:
Small aperture (f/8 – f/16)
Slow shutter speed if needed
Low ISO
This keeps the entire scene in focus.
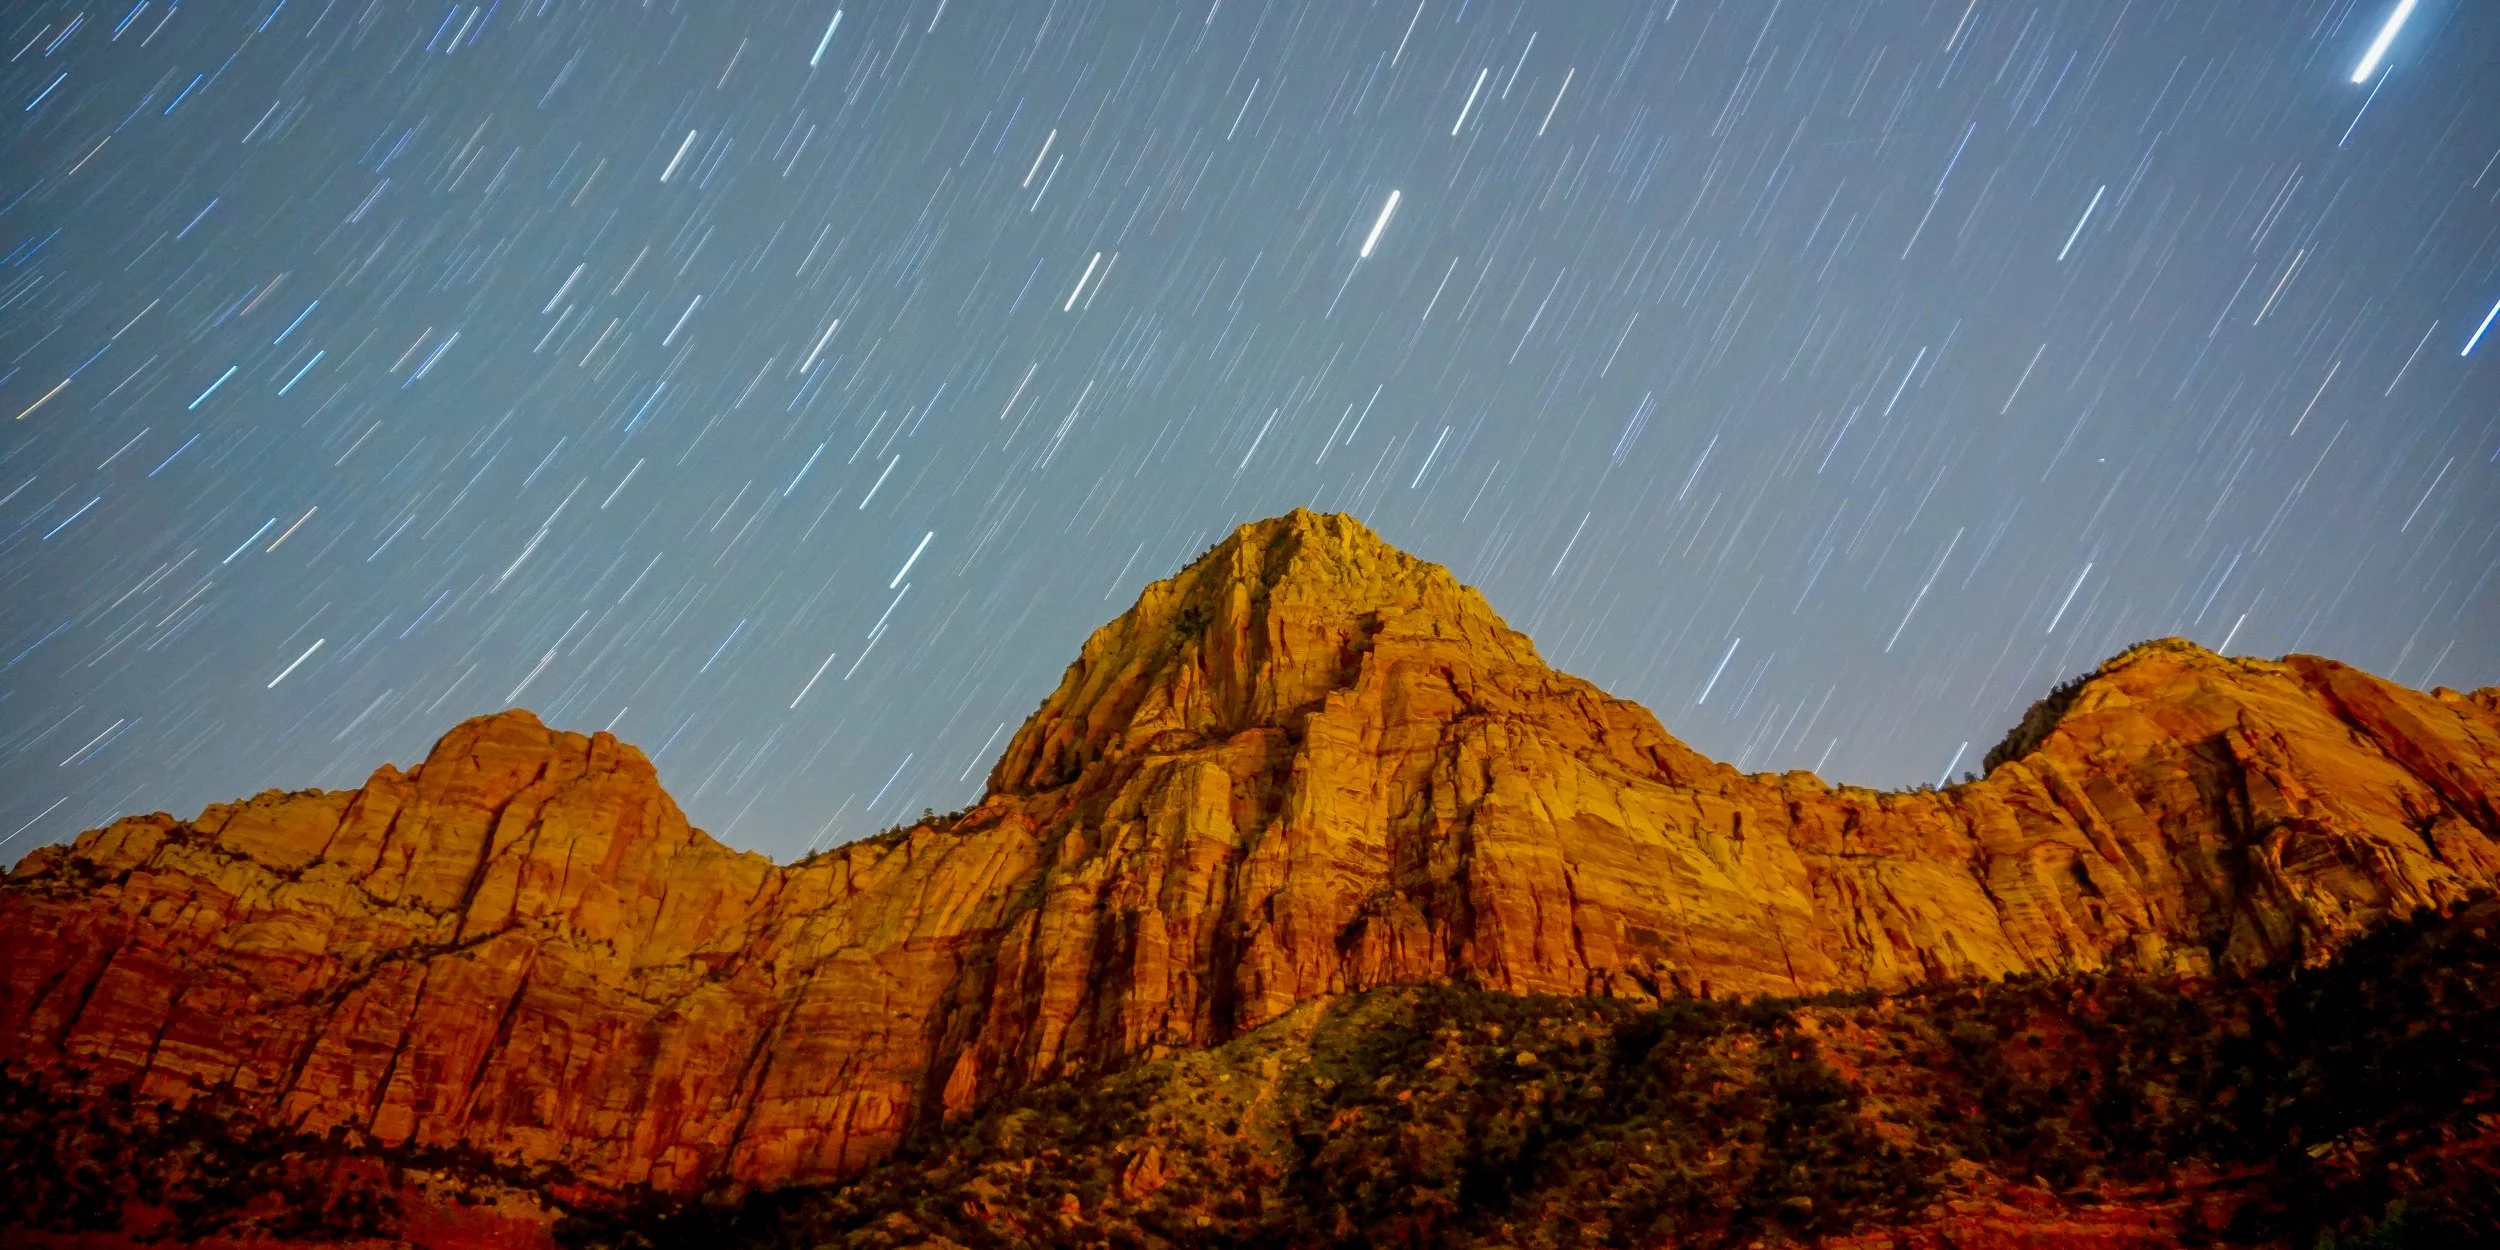
Night Photography
Use:
Wide aperture
Slow shutter speed
Higher ISO
This allows enough light to capture the scene in dark conditions.
Why the Exposure Triangle Matters
Once you understand the exposure triangle, you are no longer guessing when you take photos. You can decide exactly how you want the image to look and adjust your settings to match.
Instead of relying on automatic mode, you gain full control over:
Background blur
Motion
Brightness
Image quality
This is one of the biggest steps in becoming a better photographer.
Exposure Triangle FAQ
What is the exposure triangle in photography?
The exposure triangle describes how aperture, shutter speed, and ISO work together to control exposure.
Which setting should I change first?
It depends on the type of photo. Choose aperture for depth of field, shutter speed for motion, and ISO for brightness.
Does ISO affect image quality?
Yes. Higher ISO can introduce noise, so it is best to keep ISO as low as possible when you can.
Do professionals use the exposure triangle?
Yes. Understanding the exposure triangle is essential for shooting in manual mode.
Learn More Photography Tips
Aperture in Photography Explained (F-Stop, Depth of Field & Examples)
Understanding Shutter Speed: How It Transforms Your Photography
ISO in Photography Explained – Camera ISO Settings for Beginners
Depth of Field in Photography Explained – Shallow vs Deep DOF Guide
Rule of Thirds in Photography Explained (With Examples & Tips)
More Photography from Scott Turnmeyer
I write about landscape photography, night sky photography, camera technique, and photography workshops in the Shenandoah Valley and Blue Ridge Mountains. You can explore more photography, workshops, and articles here:
Fine Art Photography
Photography Workshops & Experiences
Blog Home
About Scott Turnmeyer
Digital Consulting